Frame It Easy True to Its Name
We mentioned earlier that there might be subtle variations in how you frame your art depending on what you want to display. In the following sections, we'll discuss some additional considerations.
We'll break down some different types of art — what it might be made of, its shape, how thick it might be, special circumstances, etc. — all of which should influence how you approach your project.
Types of Art
Photos, Posters, Documents, Drawings, and Prints on Paper
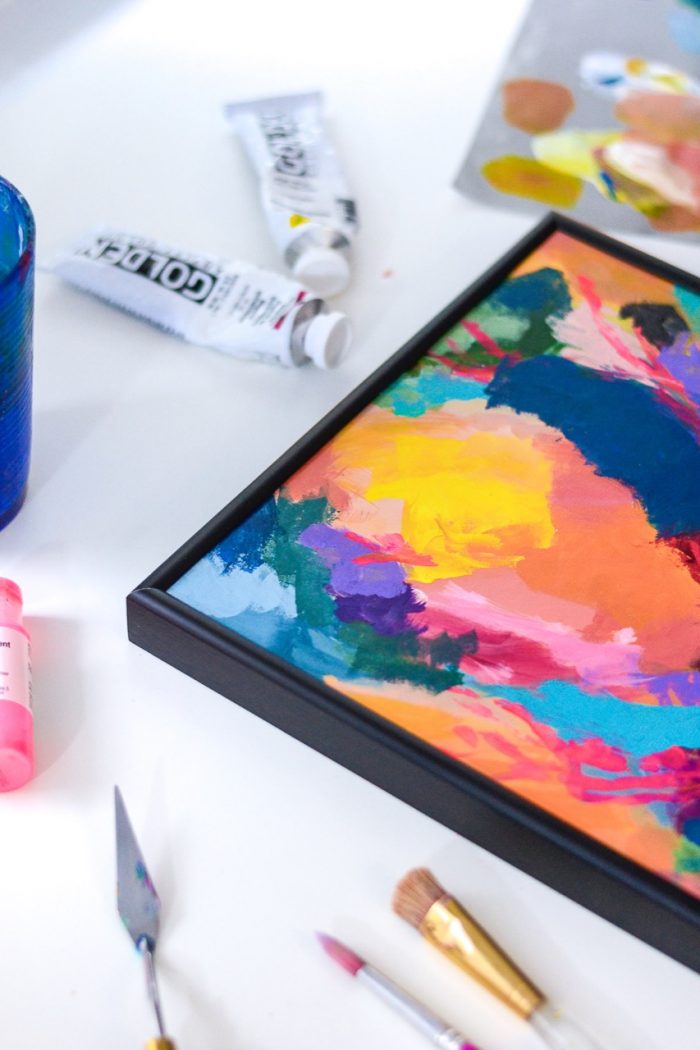
The most common types of art to frame — simple photos, posters, and prints on paper — are typically the easiest to mount and/or assemble.
They will either be the perfect fit within a custom frame ordered to exact measurements or can be mounted to a matboard or backing using the T-Hinge or H-Mount methods outlined above.
Puzzles
Framing a puzzle isn't too much different than normal art, but there are a few preliminary steps you'll want to consider.
Most importantly, you'll need to either glue or place tape behind your puzzle, so it doesn't fall apart when you go to add it to the frame.
For any adhesive, always be sure to use acid-free options.
Once the puzzle is mounted or bound together, the process should be the same as framing other photos, prints, or posters.
Just be sure to be mindful of your puzzle's thickness to make sure you get a properly fitting frame!
Clothing, Crafts, and Textiles
If looking to frame items other than paper photos and prints, the material, composition, shape, and thickness all need to be taken into consideration. Common "frameable" items in this category include:
- sports jerseys
- baby clothes
- t-shirts
- flags
- cross-stitch
- quilts
- diamond paintings
- scarves
Fabric and other textiles can come with a few different challenges, as they don't usually take a strict shape. Because of this, how you measure for framing will depend on how you want your piece displayed.
Do you want the sleeves of a shirt out or folded? Do you want only the logo of the shirt displayed, which would require more folding and a thicker overall piece, or have the whole thing laid out? All of these will influence what frame options are available and the materials you use.
To frame a textile, use these steps & tips:
- Lay your piece out as you would like it displayed in your frame — folded and everything in the particular way you'd like it showing. This is to get as accurate of a measurement as possible.
- Measure the area around your piece that you would like it displayed in. (*For a non-rectangular piece, you'll want to account for the extra "space" around the edges.)
- Order a frame to match your desired dimensions.
- Once you receive your frame, fold your jersey as you would want it displayed. (You might consider using something like sequin pins, which are small and unnoticeable, to tack your piece to the foamcore backing. Just make sure you don't push the pins straight through, which would cause them to stick out the back — instead angle them into the center of the foamcore. Always use caution if you decide to go this route!) Alternatively, you can try using Framer's Tape and the H-Mount method if your piece is not too thick or heavy.
- Once the push pins are in or your tape is secure, assemble your frame as you normally would.
Canvas/Thicker Art
As mentioned, our metal frames are designed for art up to 1/4″ thick, and our wood frames can accommodate art up to 1/8″ thick. (That's with both the backing and cover included!)
If your piece of art exceeds 1/4″ in thickness but is still less than 1/2″ thick, you would likely need to omit either the cover and/or backing. (Details on this below!)
If your art is thicker than 1/2″, though, then you'll likely need to source a canvas or shadow box frame.
Special Framing Circumstances
Non-Rectangular Art
We primarily sell art for square and rectangular pieces, as that is the shape of our frames, but there is the occasional need or desire to frame a circular/oval or oddly-shaped piece of art.
While the frame itself would still always be rectangular, with a little extra engineering, a non-rectangular piece of art can still have a great display.
If your piece is circular or ovular, you do have the option of ordering separate matting with a circle/oval shape opening. More info can be found in our guide to ordering separate matting.
Otherwise, you'll simply want to lay your piece out as you want it displayed, and measure square/rectangular measurements around it as your "Art Size." Then you'll want to H-Mount your piece to keep it secured in the frame.
Art With A Border You Don't Want Visible
Let's say your art has a white margin — maybe two inches — and you'd rather not have that visible in the frame. There's a way to hide the border and not need any framer's tape to only display the actual print portion of your art.
All it takes is ordering a bit of matting to cover the border.
- Order a frame with the "Art Size" equal to the outside measurements of your print (i.e. the full numbers of your print, including the border).
- Add to your cart, making sure you select "No Mat" through the frame designer — you're about to build it somewhere else!
- Go to our Matboard page and enter the "Outside Width and Height" equal to the numbers on your frame's "Art Size," and then enter the "Inside Width and Height" as the actual numbers of what you want to be displayed — i.e. the art without the border.
- Place your order for the frame and separate matting.
- Once you receive your order, you should have a frame that will hold the entire piece of art — it should be a "perfect fit" to add right into the frame.
Because the frame will be cut around the actual dimensions of your print's paper, it will hold everything in place; no need to tape it! In addition, the matboard will cover up the margin that you don't want showing.
Omitting the Cover or Backing
While a cover and backing are standard to protect both sides of your art, there are a few special instances where you might want to omit either (or both) of the components:
- you might want to make more room for a thicker piece of art
- your art may already be mounted to a piece of foamboard, which would eliminate the need for additional backing
- you might want to interact with your art, as in the case of a push-pin/scratch-off map of your travels, therefore don't need a cover
To order a frame through the frame designer with no cover, when on Step 4, tap the "H" key on your keyboard to bring up a "No Cover" option. (Just note we only recommend this if you truly do not need a cover — in most cases, you will absolutely want one to protect your art!)
To order a frame with no cover and no backing:
- Go to our "Accessories" page and scroll down to the "Frame Only" section, which is fifth from the top. You can also get there quicker by clicking the link to that section at the top of the page.
- Once you're at the "Frame Only" section, enter your "Art Size" as the "Inside Width and Height."
- Place your order!
- Once you receive it, you should be able to place your art into the rabbet of the frame.
If your art is a little less thick than the rabbet of a metal frame, you can use spring clips to take up extra space. There are a few things to consider for this, however. You need to make sure that your artwork is rigid in order to effectively use the spring clips. With a flimsy piece of art, there will be no firm counterweight to them, and they will likely fall out.
Second, the feet of spring clips can scratch the back of your art. With foamcore backing on regular frames, that isn't the biggest deal, as it's there to protect your art, after all. In a frame without foamcore, though, you run the risk of having the spring clips scratch the back of your art itself. To prevent this, all you'd need is a business card or piece of paper to put in between the spring clips and the back of your art as you slide them into the frame. This should prevent the feet of the spring clips from touching your art, and it should keep your art protected.
To order a frame with no backing:
If your art is already mounted to a piece of foamcore or an otherwise thicker/sturdier material, you may not need the foamcore backing. To order a frame with no backing:
- Go to our "Accessories" page and scroll down to the "Frame Only" section, which is fifth from the top. You can also get there quicker by clicking the link to that section at the top of the page.
- Once you're at the "Frame Only" section, enter your "Art Size" as the "Inside Width and Height." Add to cart.
- On the "Accessories" page, now order just a piece of acrylic to match the "Inside Width and Height" you ordered for the frame. Add to cart.
- Place your order!
- Once you receive the frame and cover, you should be able to place your art into the rabbet of the frame.
Source: https://www.frameiteasy.com/how-to-add-art-to-frames
0 Response to "Frame It Easy True to Its Name"
Post a Comment